Email is an efficient and convenient communication mechanism in the world. In business, email already became more important than before, even lots bargains are
dealt
only via mail.
The format of email address is account@domain_name, thus email works depend on domain name. Although email also works with IP format such as account@IP, but this is not popular for everyone because it is hard to remember meaningless numbers. One more important thing is email doesn't represent an identity, it only represents an address of mailbox.
To have a mail server for your own, you need have these criteria below:
- Static IP address network
- Own a domain
- Mail server software
I will demonstrate the steps to build my own mail server. Although you may not use the same softwares as I have, the concept and theory are all the same.
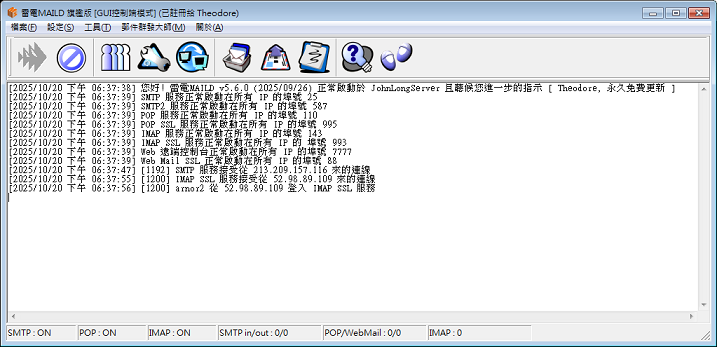
I will choose our company products RaidenMAILD to demonstrate.
Step 1: Register a domain
(1) First of all, I registered a domain name on PCHOME, the website is http://myname.pchome.com.tw/, and the domain name is raidenmaild.com.

Step 2: Go to DNS Records configuration, prepare A, MX, SPF, DKIM, DMARC ... etc records.

Step 3: Install and setup MAIL Server
(1) Go to RaidenMAILD official site to download RaidenMAILD and follow the wizard to finish mail server installation.

(2) The SMTP service binds port 25/587, POP3 service binds port 110/995, IMAP service bind port 143/993, Webmail service binds port 81.
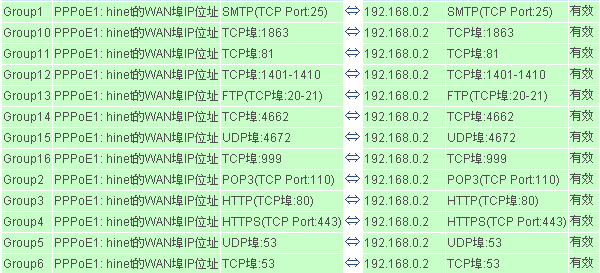
Step 4: Open ports 25, 110, 143, 993, 995, 81..etc on router/firewall.
(1) Open ports on firewall
You could Setup port mapping / virtual server on your router (DSL router).
If you have a router to have NAT environment, you need to do extra settings on router to forward specific port to intranet computers.

(2) Check your anti-virus software.
Some anti-virus softwares have firewall feature within. You should allow these ports in anti-virus or allow server applications.
Step 5: Test
(1) go to https://www.mxtoolbox.com to do domain test. It will generate a full report for you to analyse problem you got.
(2) go to https://mxtoolbox.com/diagnostic.aspx do smtp test.
Thanks for your reading.
Back to Index
Last update : 2025/11/26 |
